If you are moving your store from Shopify to WooCommerce and need to keep multilingual functionality, you are in the right place. This guide covers everything you need – from the migration itself to setting up WPML and WooCommerce Multilingual correctly.
Why Migrate from Shopify to WooCommerce?
Shopify is great for getting started, but many store owners eventually hit limitations. Here is why businesses switch:
- Payout holds – Shopify can freeze your funds without clear explanation
- Higher fees – Transaction fees add up quickly
- Limited customization – You are stuck with what Shopify allows
- Full data ownership – With WooCommerce, you own everything
One store owner recently shared this situation: “We currently have a payout hold on Shopify (not a block), and we would like to move away from that situation as soon as possible.”
If you are in a similar position, this guide will help you get out quickly and correctly.
Step 1: Plan Your Migration
Before touching anything, answer these questions:
- How many products and variants do you have? (Simple or variable products?)
- Do you need to keep full order history and customer records?
- Which Shopify apps must keep working after the move?
- Should the new site match your current design closely, or are you open to a rebuild?
For a small store (like the one in our case study with only 4 products), migration can be done quickly. For larger stores, plan for more time.
Critical Step: Keep Your Shopify Account Open After Migration
Important: Do not close your Shopify account immediately after moving. Refunds and chargebacks on old orders can only be processed inside Shopify. Keep it open for at least 3-6 months after the transition.
Step 2: Export Data from Shopify
Shopify allows you to export store data in CSV format [citation:2][citation:7].
Export the following:
- Products – All product data, variations, prices, descriptions, images
- Orders – Full order history with customer details
- Customers – Customer profiles and purchase history
- Pages – Static pages, blog articles, and coupons [citation:4]
Pro tip: Clean up your data before exporting. Remove outdated products, merge duplicate customer records, and organize your categories. This will save you headaches during import.
Step 3: Set Up WooCommerce and Hosting
Migrating from Shopify means you also need to choose a web host – Shopify was handling this for you.
Choose a Hosting Provider
Look for hosting optimized for WooCommerce performance. Options like SiteGround, Bluehost, and Liquid Web offer specialized WooCommerce hosting plans [citation:7][citation:12].
Install WordPress and WooCommerce
- Install WordPress on your hosting account
- Go to Plugins → Add New and search for WooCommerce
- Install and activate the WooCommerce plugin
- Complete the WooCommerce Setup Wizard (currency, tax rates, shipping, payment gateways) [citation:2]
Important: Leave your domain connected to Shopify until the migration is complete. Use a temporary domain for WooCommerce until everything works. Then update the domain at the end [citation:2].
Step 4: Import Data into WooCommerce
There are several ways to move data from Shopify to WooCommerce [citation:2][citation:7].
Option 1: Automated Migration Plugins
Pro Shopify Migrator (from WooCommerce.com) can handle the entire migration with zero data loss [citation:4]. It supports:
- SEO preservation (meta titles and descriptions)
- Real-time synchronization via webhooks
- One-click migration wizard
- Resume functionality if migration gets interrupted
SunCart Shopify to WooCommerce Migration is another solid option that supports AJAX batch processing for large datasets [citation:9].
S2W – Import Shopify to WooCommerce offers both free and pro versions with extensive import options including metafields, shipping zones, and taxes [citation:14].
Option 2: Cart2Cart Migration Tool
This paid service specializes in moving data between platforms. It handles the technical mapping and can migrate everything including blog articles. Cost depends on the amount of data being transferred [citation:12].
Option 3: Manual CSV Import
For simple setups, use WooCommerce’s built-in Product CSV Importer (Tools → Import) [citation:12]. Works for products, but manual mapping is needed for orders and customers.
Step 5: Set Up Multilingual Functionality with WPML
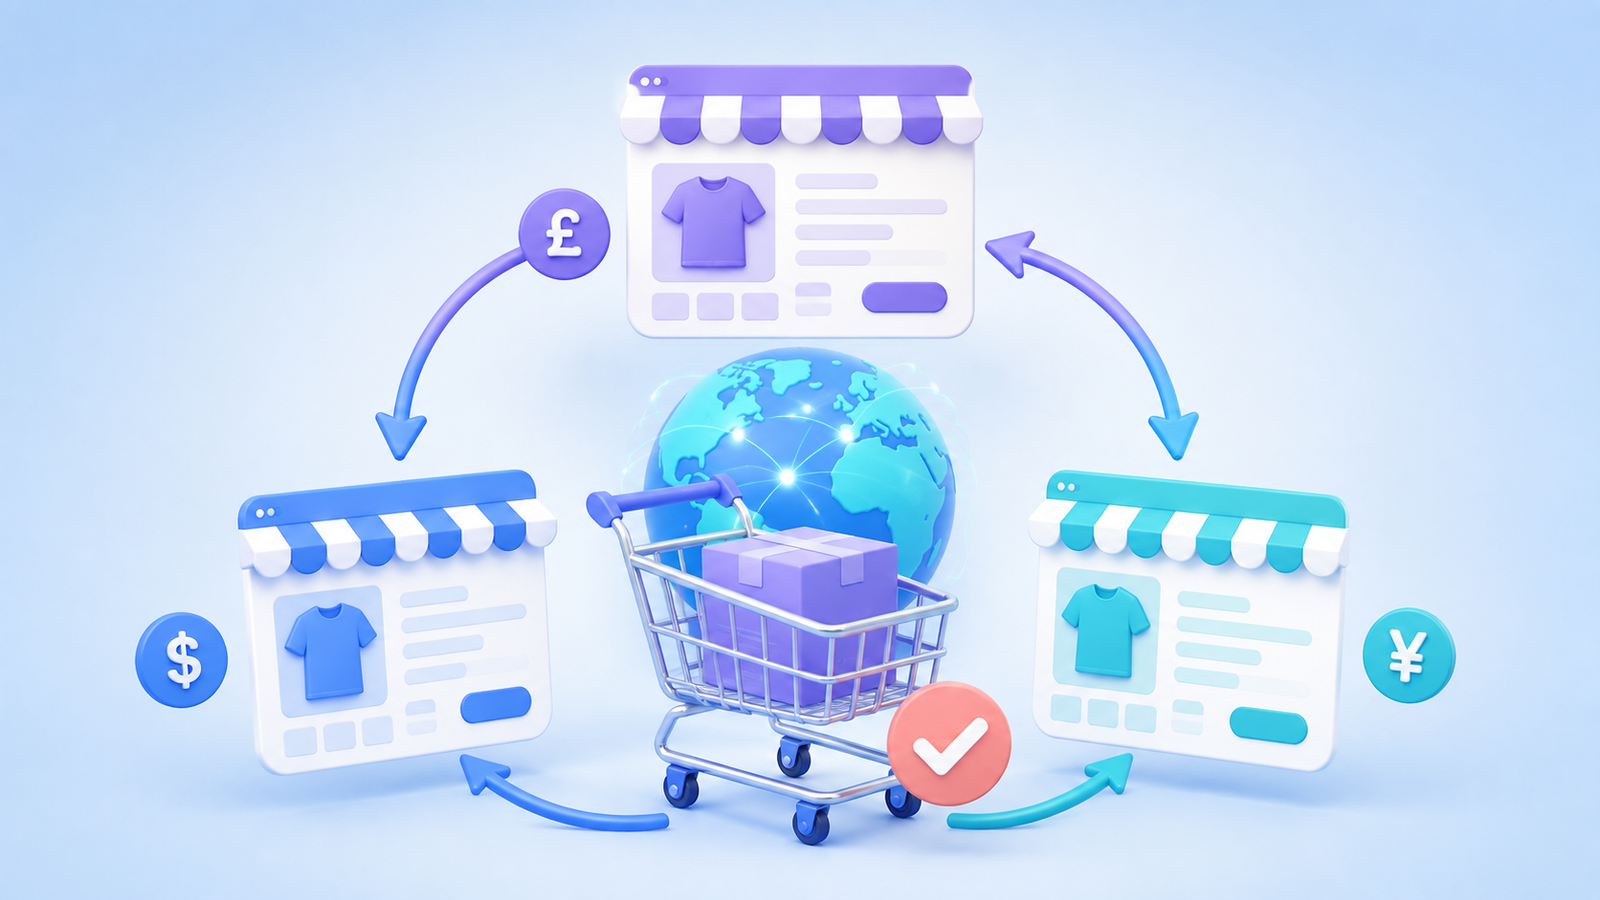
If your store operates in multiple markets, you need proper multilingual setup. Most Shopify stores with translation apps need to recreate this functionality in WooCommerce.
Required Plugins
To handle multilingual WooCommerce properly, install these plugins [citation:6][citation:11]:
- WPML – Core translation plugin
- WooCommerce Multilingual & Multicurrency (WCML) – Extends WPML for WooCommerce
- WPML String Translation – Translates interface strings
Understanding the WPML → WooCommerce Multilingual Menu
Many store owners get confused by the WPML menu structure. The WooCommerce Multilingual menu is actually the control panel for the WCML add-on. It appears as a submenu under WPML and handles [citation:6]:
- Product translations (titles, descriptions, attributes)
- Category and taxonomy translations
- Multi-currency setup
- Cart and checkout behavior
- SEO integration
Products Tab
When translating WooCommerce products, WPML automatically includes product variations, attribute terms, categories, and tags linked to the product [citation:6][citation:11].
Critical setting: At the bottom of the Products tab, find the checkbox labeled “Synchronize product data across translations.”
Turn this on. If you do not, changing the price or stock on the original product does NOT update the translated versions. You will sell the same product at different prices in different languages.
Attributes Tab
During WCML setup, you decide which product attributes should be translatable [citation:1][citation:11]. Not all attributes need translation – numeric, code-based, or measurement attributes are usually the same across all languages. For example, “M4” screws or “XL” sizes can stay untranslated. Fashion-related attributes like colors should be translated.
Once an attribute is marked as translatable, it is included automatically when you send products for translation [citation:1].
Currency Tab (Multi-Currency)
WCML supports both manual and automatic currency management [citation:8][citation:13].
Manual pricing gives you clean, professional prices. Set each price per currency.
Automatic exchange rates are faster but can produce uneven prices like €28.47.
You can also set display format to “symbol + code” (e.g., “€ EUR”) because symbols like $ or £ confuse customers outside the US and UK [citation:13].
The currency switcher can be added as a widget, shortcode, or PHP code [citation:3][citation:13]. Use [currency_switcher format="%code% (%symbol%)"] for custom placement.
Cart and Checkout Tab
This tab contains the setting that destroys more conversions than anything else.
“Synchronize cart content when switching languages”
By default, this option is turned off [citation:5].
What happens if you leave it off? A customer adds a product to the cart in English, switches to German, goes to checkout, and the cart is empty. They do not know why. They just leave.
Turn this setting on.
Exception: For complex products like WooCommerce Composite Products, Subscriptions, or Bookings, keeping cart synchronization enabled can cause issues. In these cases, choose “Prompt for a confirmation and reset the cart” instead [citation:10].
Common Translation Issue: Checkout Still in English
You translated all products, but buttons like “Add to Cart” and “Proceed to Checkout” are still in English [citation:1][citation:11].
Why? These are WooCommerce interface strings handled separately through WPML String Translation.
How to fix:
- If you added a new language after WCML setup, go to Dashboard → Updates and click “Update Translations” [citation:1]
- Go to WPML → String Translation and search for the untranslated text
- Translate the strings manually
For block-based Cart and Checkout pages in less common languages, you may need to enable “Detect strings in JavaScript files” in WPML Settings, scan WooCommerce for strings, then translate them [citation:1][citation:11].
Step 6: Test Everything Before Switching
Before pointing your domain to WooCommerce, run thorough tests [citation:7]:
- Verify all imported products (titles, descriptions, prices, images)
- Test variable products (select each variant, check prices change correctly)
- Go through checkout process in every language
- Test currency switcher and cart behavior across languages
- Verify translated pages and navigation
Step 7: Set Up 301 Redirects
To preserve your SEO rankings, create 301 redirects from your old Shopify URLs to your new WooCommerce site [citation:7].
Use a plugin like “Redirection” to simplify this process. Ensure all redirects are working – broken links damage your SEO performance.
Performance Considerations
WPML and WooCommerce Multilingual add database queries. A store with 50,000 products and 15,000 categories can generate over 15,000 SQL queries per page load.
To handle this:
- Enable object caching on your server
- Use a performance-focused hosting provider
- Keep the number of languages reasonable (more languages = more queries)
- Enable WPML caching under WPML → Settings → Performance
Final Quick Reference Table
| Task | Tool | Notes |
|---|---|---|
| Migration | Pro Shopify Migrator, Cart2Cart, or CSV import | Back up Shopify first. Test with a small batch |
| Multilingual | WPML + WooCommerce Multilingual | Must have both plugins installed |
| Multi-Currency | WooCommerce Multilingual (free) | Up to 200+ currencies supported |
| Cart Sync | Settings → Cart tab | Turn ON unless using complex products |
| SEO | 301 redirects + Yoast/Rank Math | Preserves Google rankings |
Need Help with Your WooCommerce Multilingual Setup?
Setting up WPML and WooCommerce Multilingual correctly can be tricky. One wrong setting and your cart stops working, prices show in the wrong currency, or translations break.
I have been working with WordPress and WooCommerce for years. I know exactly where things break and how to fix them.
Get a free estimate within 24 hours for your specific issue.
Send me:
- What plugins you are using
- What is not working
- URL of your store
I will look at your setup and tell you exactly what needs to be fixed and how much it will cost.
If I am fully booked, one of our WPML-certified developers will step in to help you. We have a team that specializes in multilingual WooCommerce stores.
No obligations. No upsells. Just an honest assessment.
24-hour response time. Serious inquiries only.